No products in the cart.
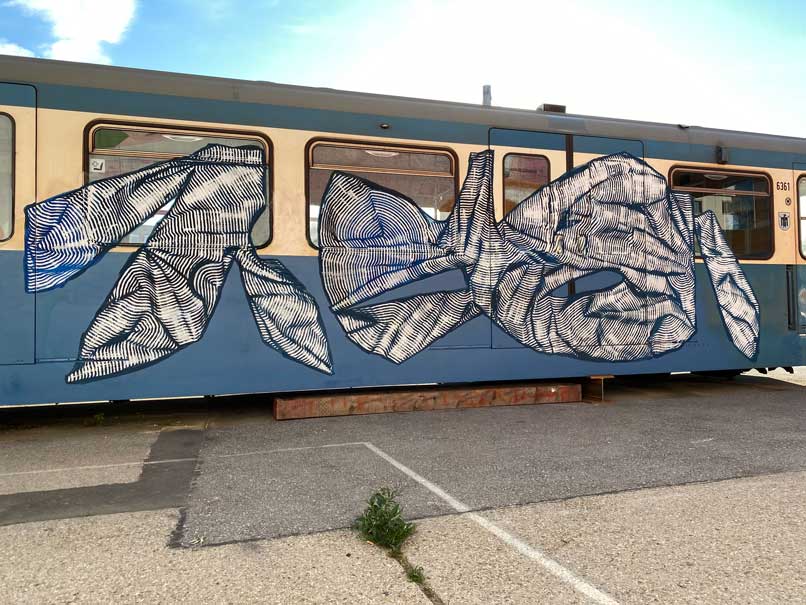
Graffiti Piece On A Wall

All the Chapters
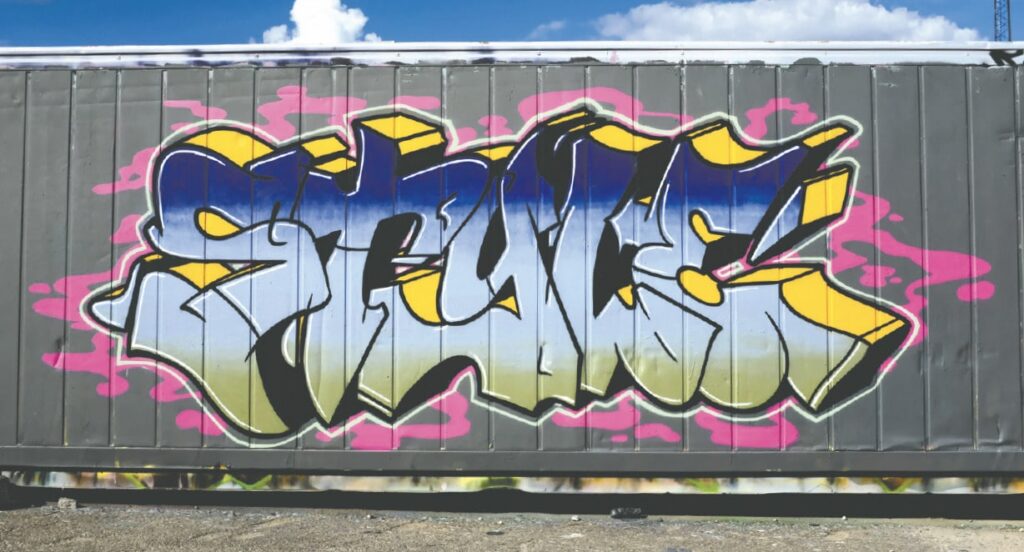
How to do a complete Graffiti Piece On A Wall
YOUR FIRST MASTERPIECE
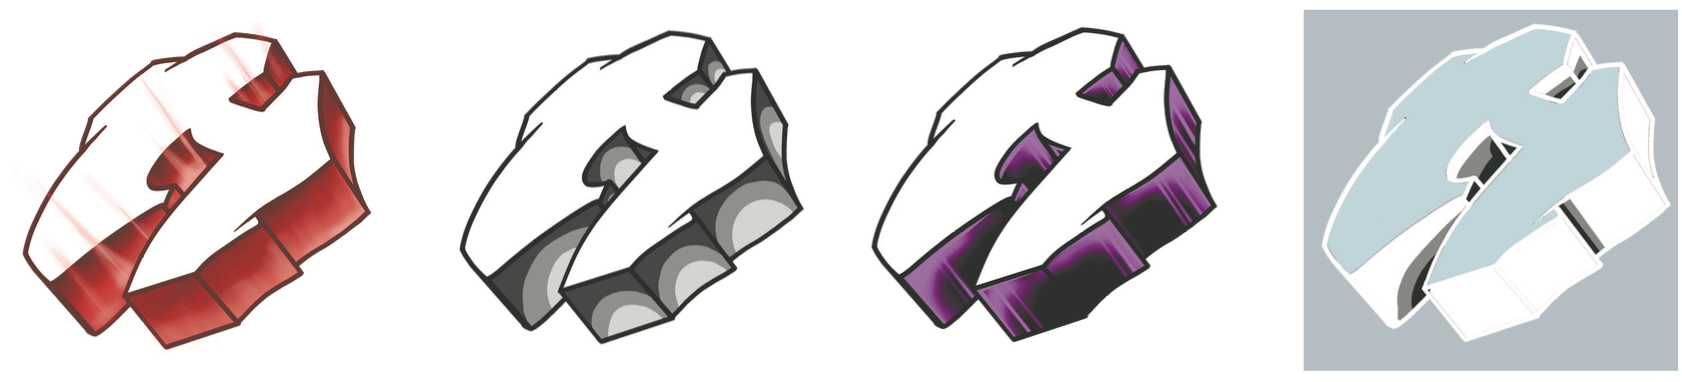
When going from sketch to wall with your first piece, there is some steps, that graffiti writers all over the world are using in order to keep the bigger overview and not wasting too much paint along the way. These steps are carefully explained here in the following pages.
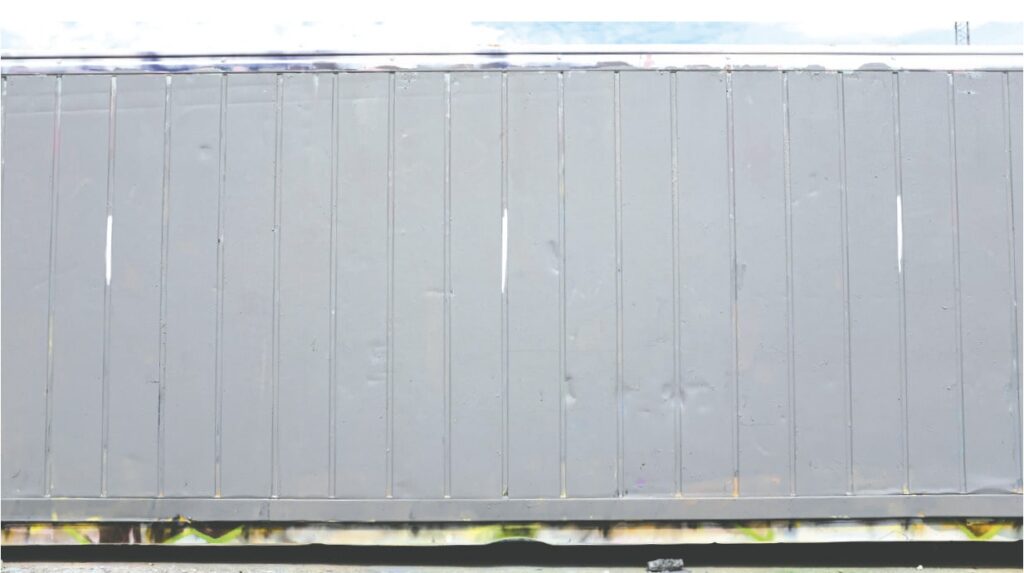
BASE LAYER
First step is to prime the whole wall with a base color. The wall will absorb some of the prime base color, making it absorb less of your spray paint once you apply it. If you are going over a piece make sure to cover it 100% with your base color, to show respect to the writer, who did it. If you only cover parts of the underlying piece, it will be seen as disrespectful by the community.
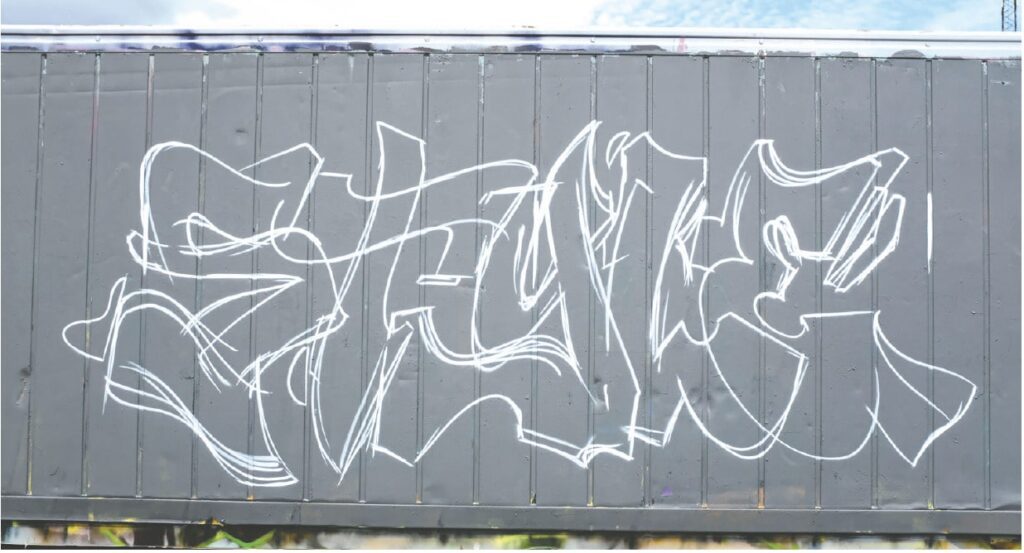
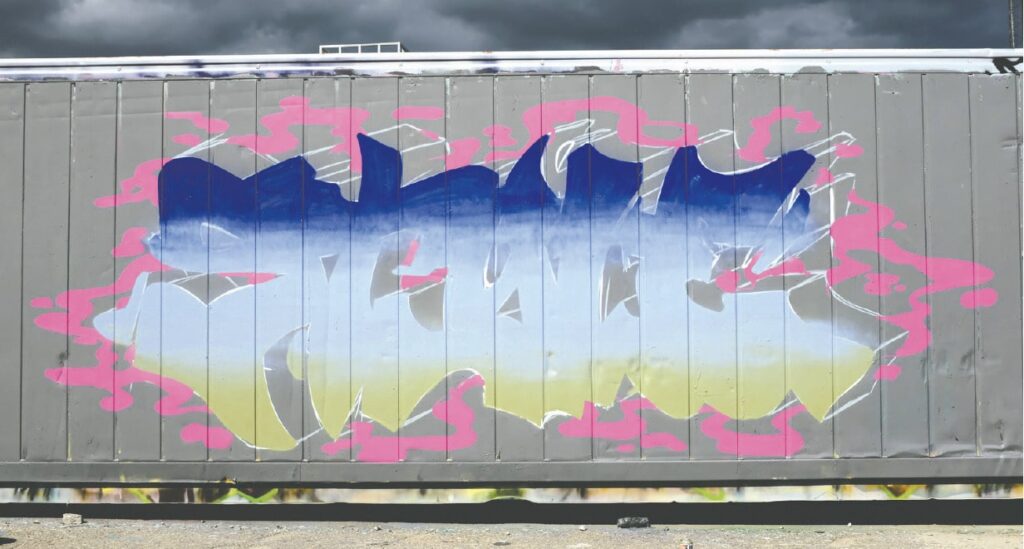
SKETCH UP
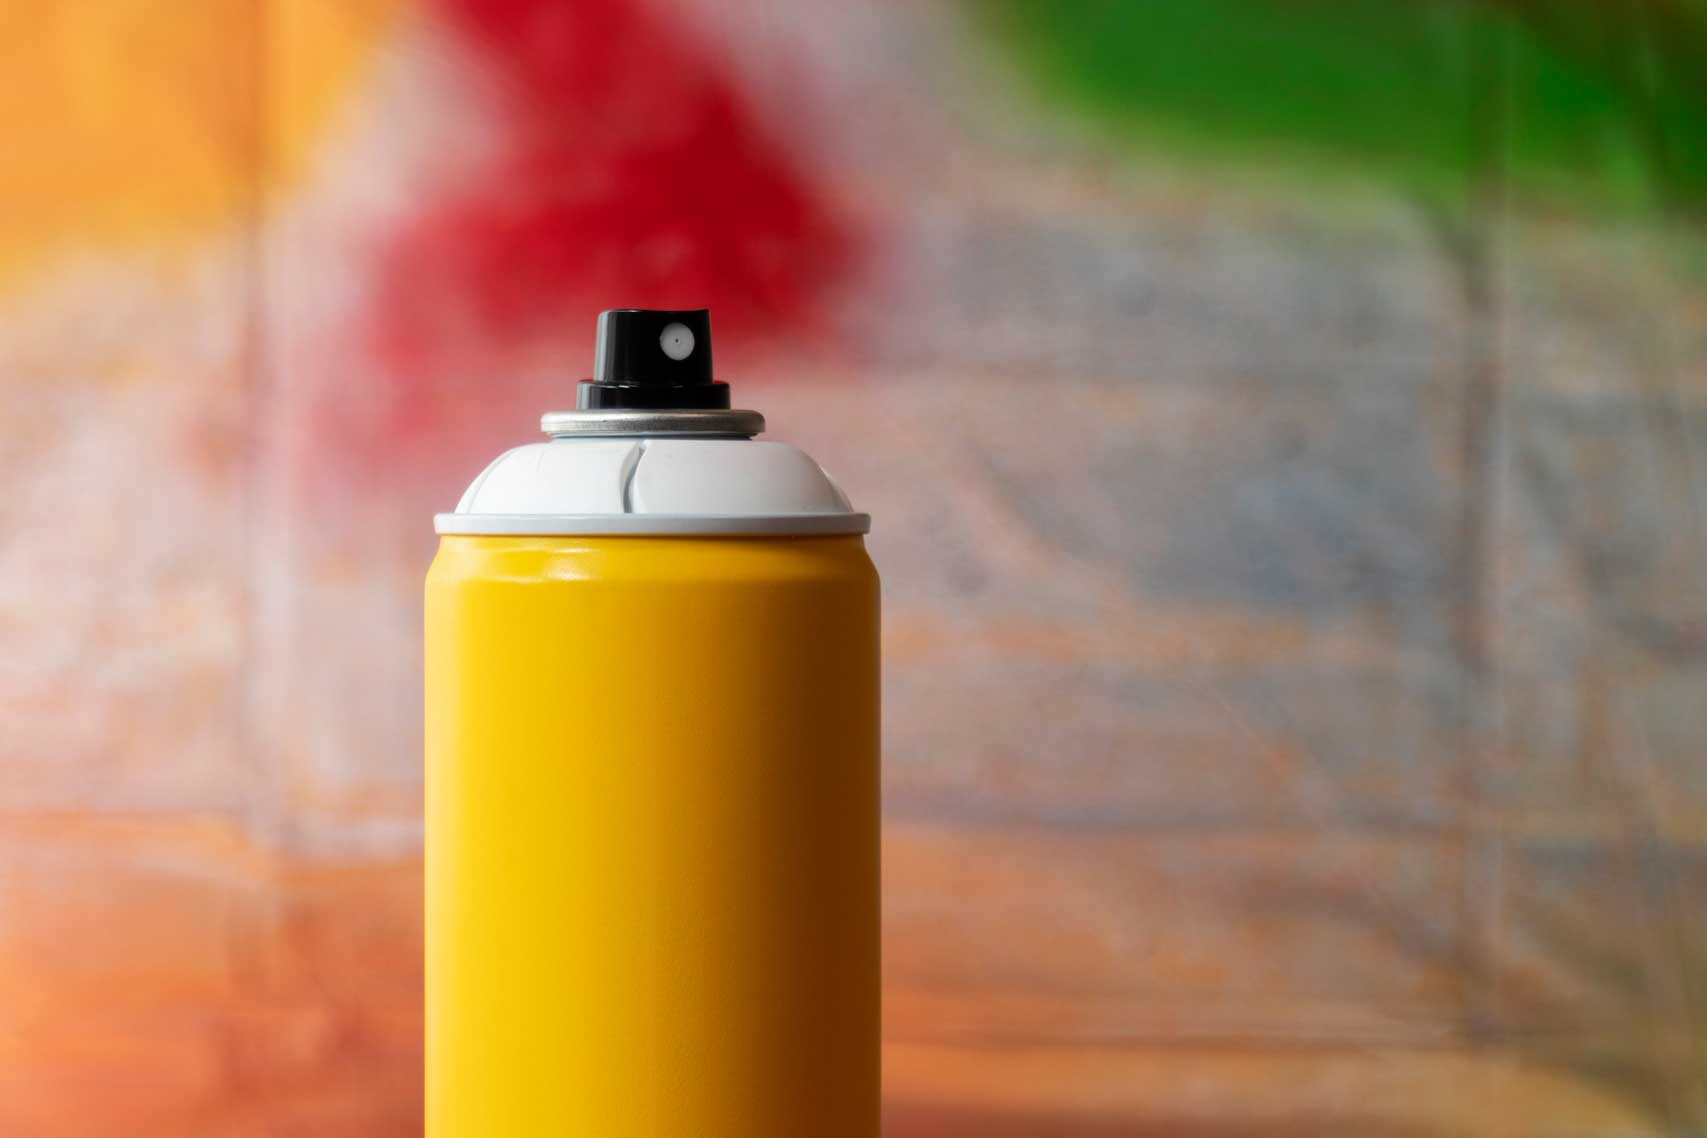
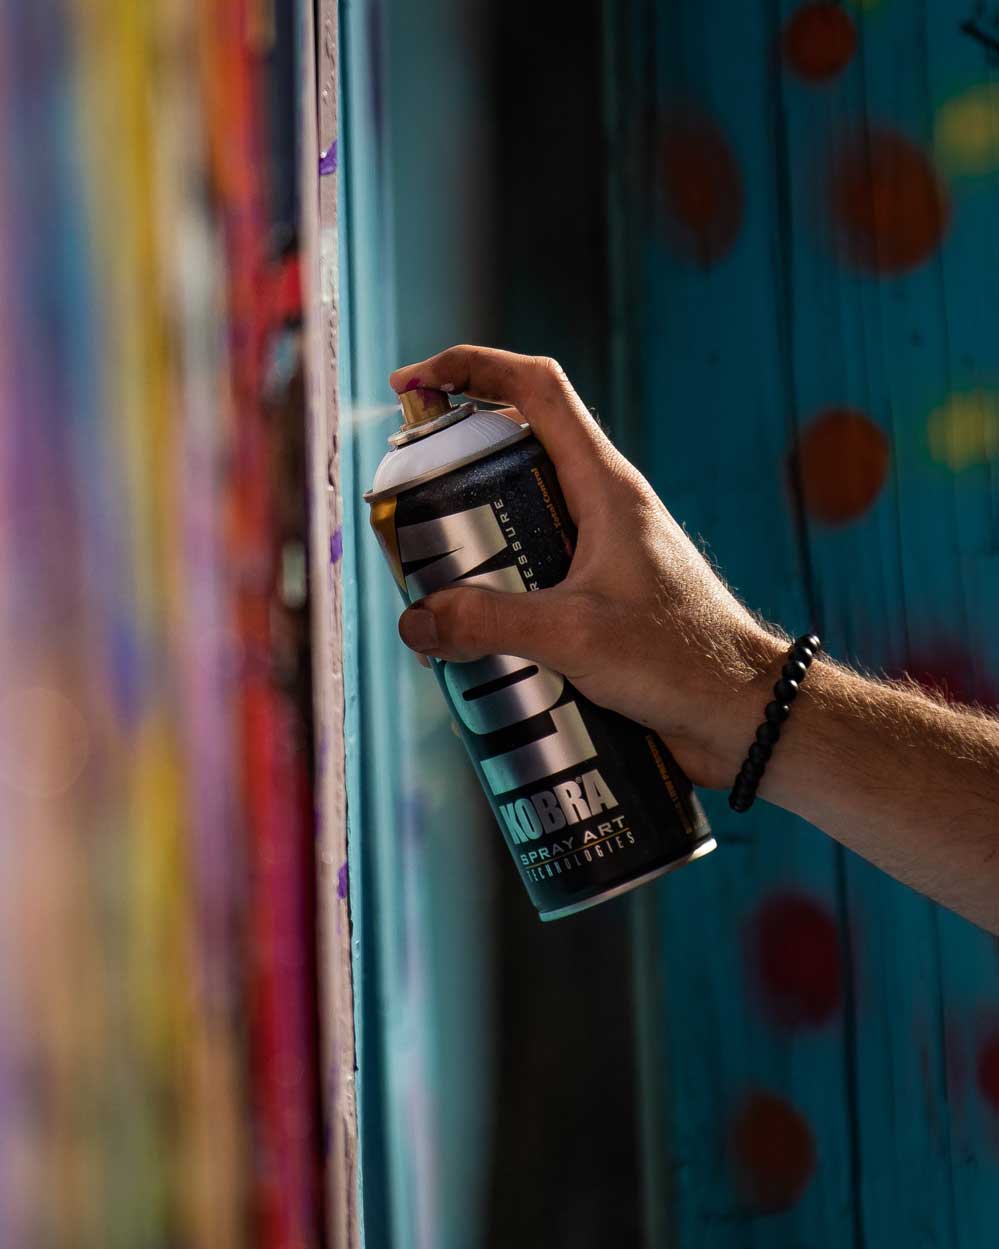
If this is the first time you are using a spray can, take some time to play around with how it works. Pull some lines with different speed, thickness and distance to the wall and experiment with how much pressure you apply to the cap. Once you get a feel of how to use the can, you can start to make your first piece.
Making the sketch of your piece on the wall is, what lays the foundation of, how the final piece is going to be. So it’s very important to get the proportions and the location of your piece on the wall right. A helpful trick to accomplish this, is to draw three lines on your pre-made sketch and on the wall as well – one in each end and one in the middle. These three lines will work as guidelines to, how long and wide your letters can be, when you sketch them on the wall. This will help you keep the overall proportions of the piece intact.
In the process of sketching your piece, remember to take a few steps back to view the piece as a whole. Making sure you are going in the right direction and are correcting mistakes along the way.
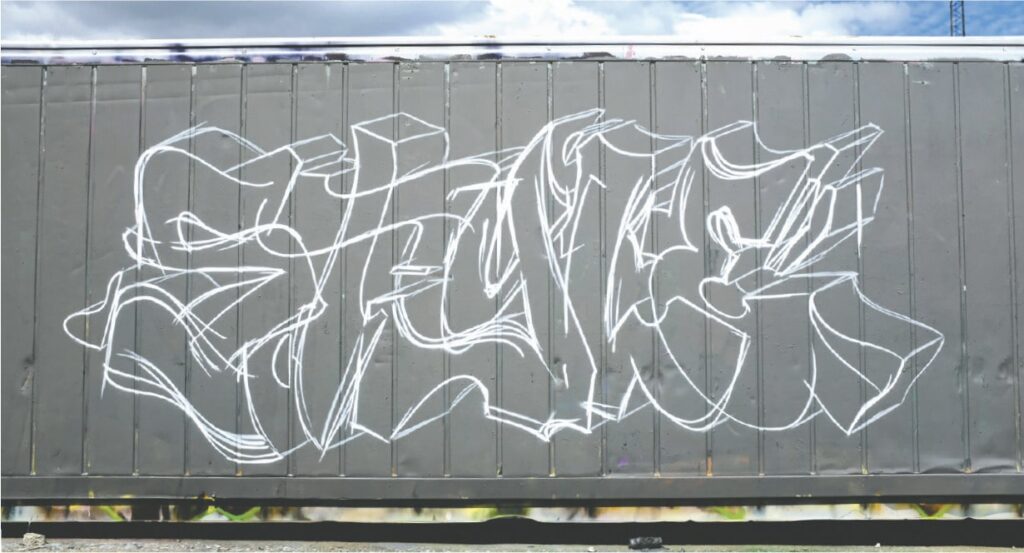
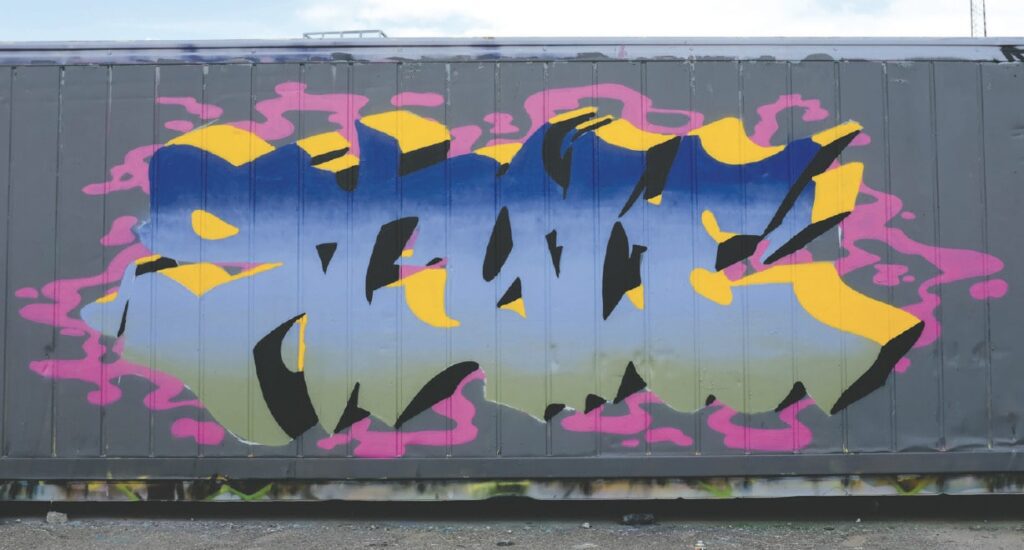
SKETCH YOUR SHADOWS
Sketch your shadow in the direction you want. If the piece is sketched too high or too far to one of the sides, you can choose to make the shadow go in the opposite direction, making up for the empty space.
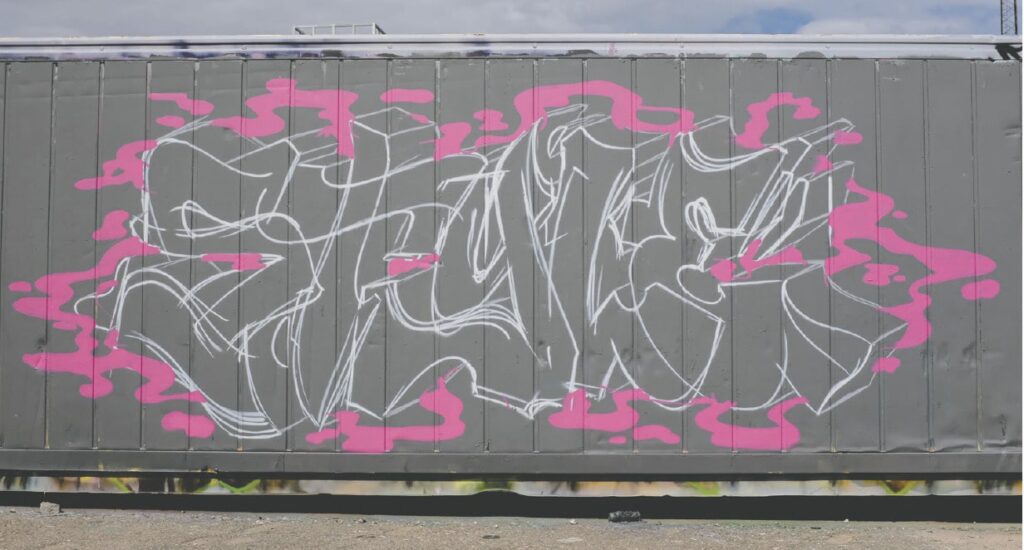
BACKGROUND
Now it’s time to start adding some colors to your piece. The background should complement the piece and put everything in a frame. A background can be a whole theme, include a character or just be simple bubbles, splat or graphic elements. For inspiration on backgrounds visit this course.
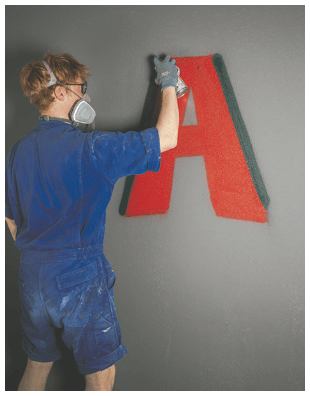
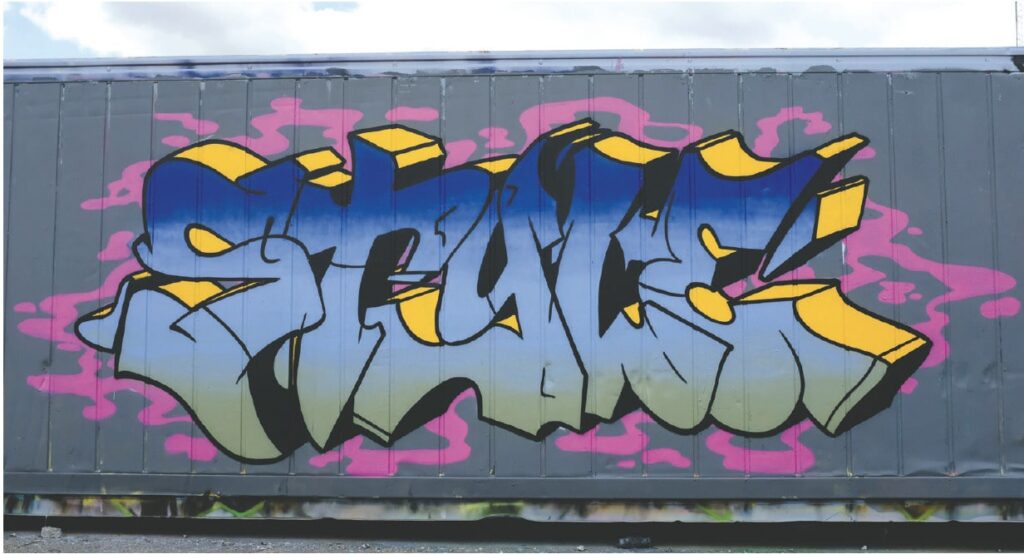
MAKE YOUR FILL-IN
Make your letter fill-in so it covers the out-line of the sketch, fully making it ready for the final outline. For inspiration on fill-ins visit this course.
FILL-IN YOUR SHADOWS
If your shadow fill-in is more than one color, another color than your outline, contains details or fadings, now is the time to paint it. For inspiration on shadow fill-ins visit this course.
OUTLINE
Now is the time for making your outline. Pull the lines with confidence, so you get them right the first time. Your newly made fill-in might cover some parts of your sketched outline, where the letters overlap. This makes it hard to know, where the final outline should be. Have your paper sketch near you, to look at for a better overview. If you’ve made a big piece, adding a thicker outline than usual might fit the piece well. A trick for this is instead of using a fat cap to make the outline in one go. Instead you can take a skinny cap and make the outline thicker little by little. This will give you better control and most likely a more clean outline.
HIGHLIGHTS
Add highlights to your letters with confident movements so you won’t have to edit them afterwards, which can be difficult in faded fill-in. For inspiration on highlights visit this course.
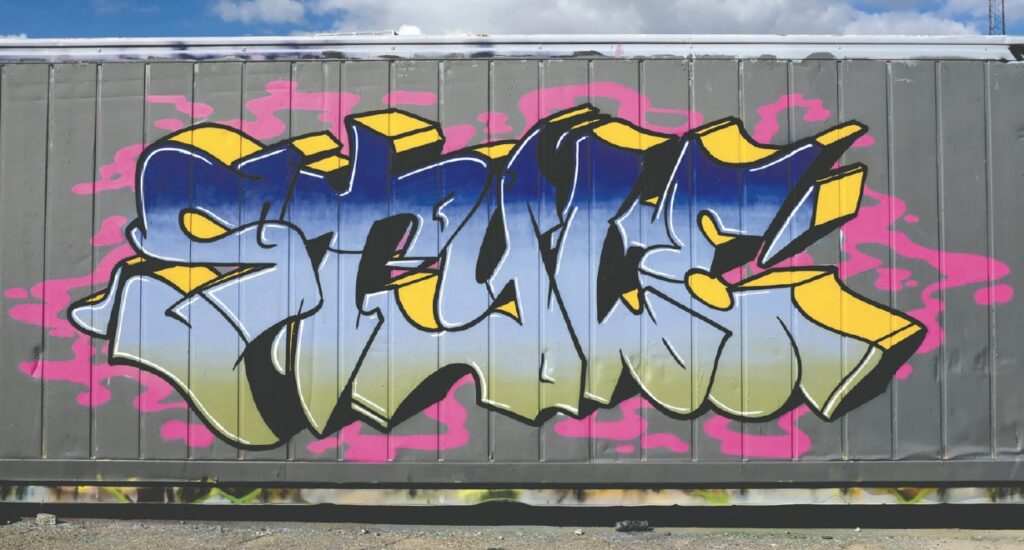
KEYLINE
A keyline can be added to the piece to make it pop out, and frame the overall look even more. Keylines are often made in bright or neon colors.
THE LAST BITS
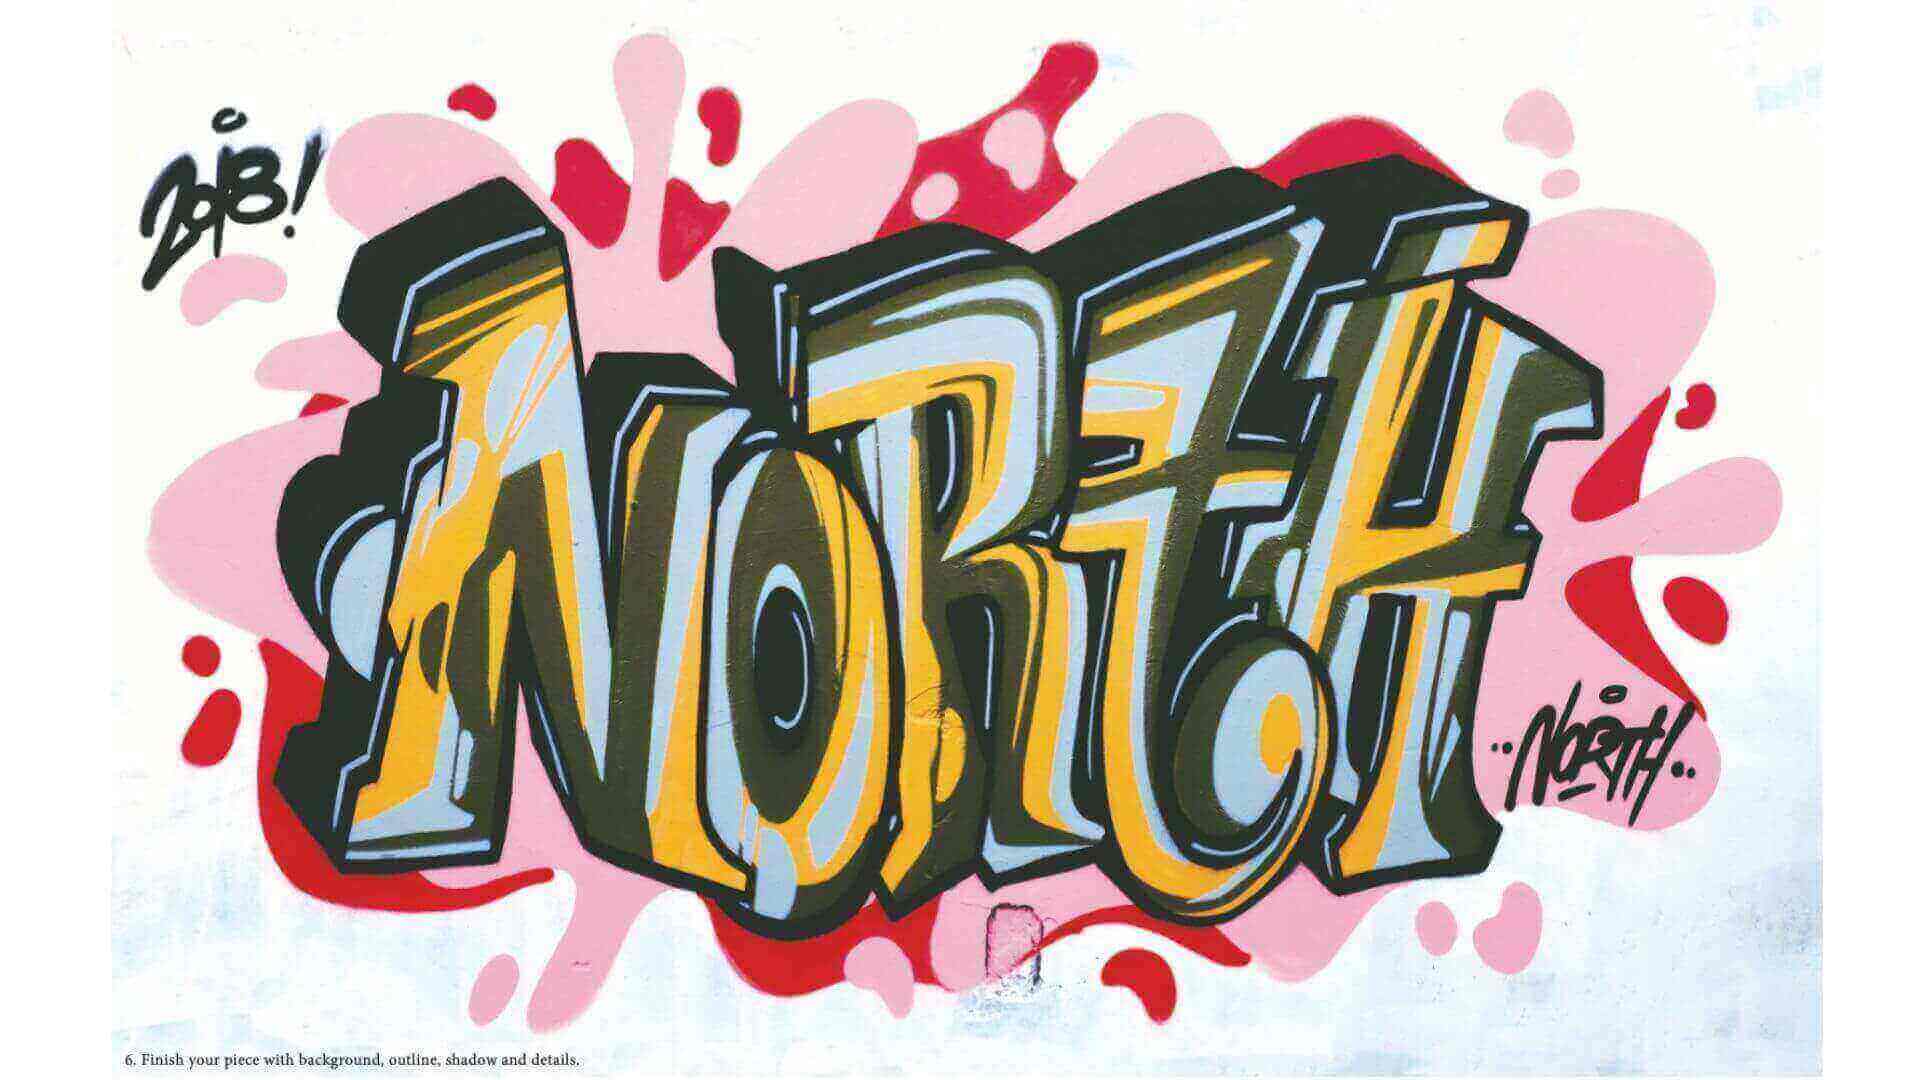
As an absolute last step, add highlights and flares to your piece. These will most likely cover parts of your fill-in, shadows and keyline. Which is why they should be added as a last detail and with confident lines. If you have followed the layer approach, this shouldn’t be a problem. Sign the piece with your tag and the current year, so other graffiti writers can recognize your work and when it has been created.
We hope this helped you, when making your first graffiti piece on a wall.
For more inspiration, check out this video.
Related Guides